
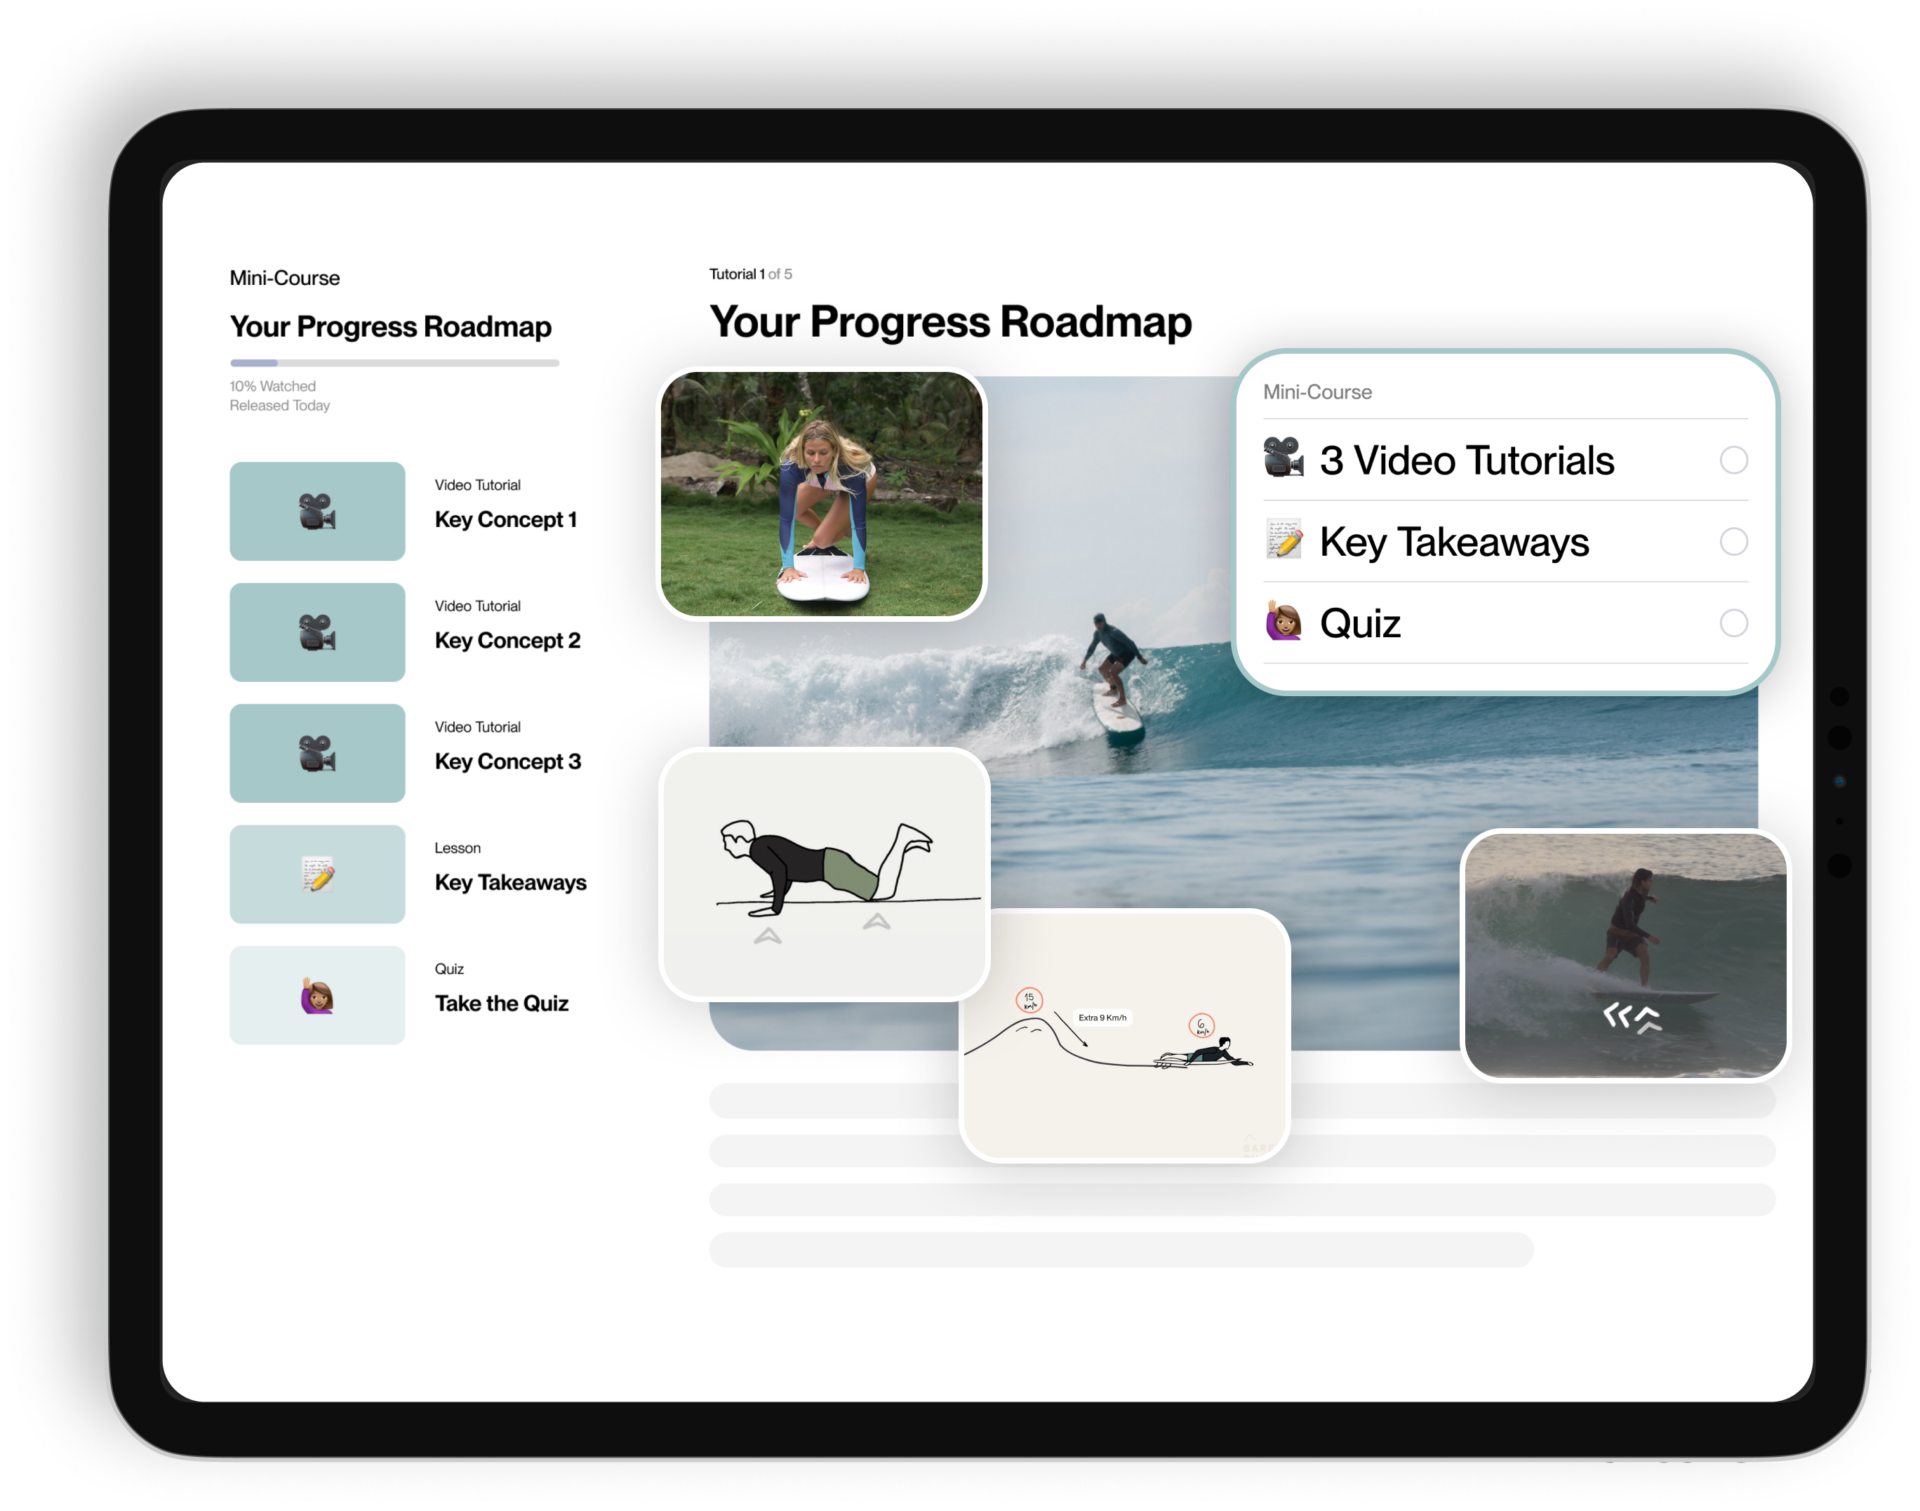
Save time and energy to catch more waves in your session by following our 3 most common techniques.
The happiest person out in the surf is generally the one catching the most waves. Without the right techniques to get past the waves on a big surfboard, you are more likely to lose progress every time you get hit by a wave, often resulting in frustration and loss of energy. Let’s break down the 3 most common techniques to pass the break on a longboard and explain when you should be using each of them.
1. Push Through
For Small to Medium Waves, Green Waves, White Water

Surfers often underestimate their capacity to push through powerful white water waves. Although surfing bigger boards equals more floatation, faster paddling and increased wave count, it also comes with its disadvantages. Generally speaking, bigger boards are a lot harder to sink and pass under or over waves. With that being said, let’s start with The Push Through Technique– the most optimal method to use to get past small waves on a big surfboard. The Push Through will likely be the first technique you learn on a big surfboard to pass the break, as it is only practised in small white water waves or small unbroken waves. This technique is by far the easiest and most efficient way to go over these waves. It uses the speed and flotation provided by a bigger board to drive ourselves through the wave, instead of under it. One thing to keep in mind is that you should be able to push through decent size white water with good momentum. Learning to do so is guaranteed to accelerate your progression, help you pass the break more efficiently and increase your wave count. If this sounds appealing to you, we invite you to follow the steps below.
Step 1

Starting out, surfing can be both a challenging and enjoyable learning process. Let’s face it- the reality is you are going to wipe out time and time again constantly. It’s the only way you’re going to progress. No one said it was going to be easy! However, it’s important to remember that we all have to start somewhere. To begin with, the First Step is holding our surfboard by its nose, perpendicular to the waves as we walk out to the water. Only start paddling when bigger sets of waves have passed you and when the ocean looks calmer. Remember- timing is key. Be patient. We really can’t overlook the fact that timing the paddle out is everything when you’re surfing a bigger board. You’re guaranteed to save yourself way more time and energy if you wait for the bigger sets of waves to pass, paddling out when the ocean looks calmer.
Step 2

The Second Step is to paddle hard towards the whitewater. You want to start by paddling towards the wave at a 90-degree angle with good speed. As you get closer to the whitewater wave, keep paddling hard straight towards it. More speed=more control.
Step 3

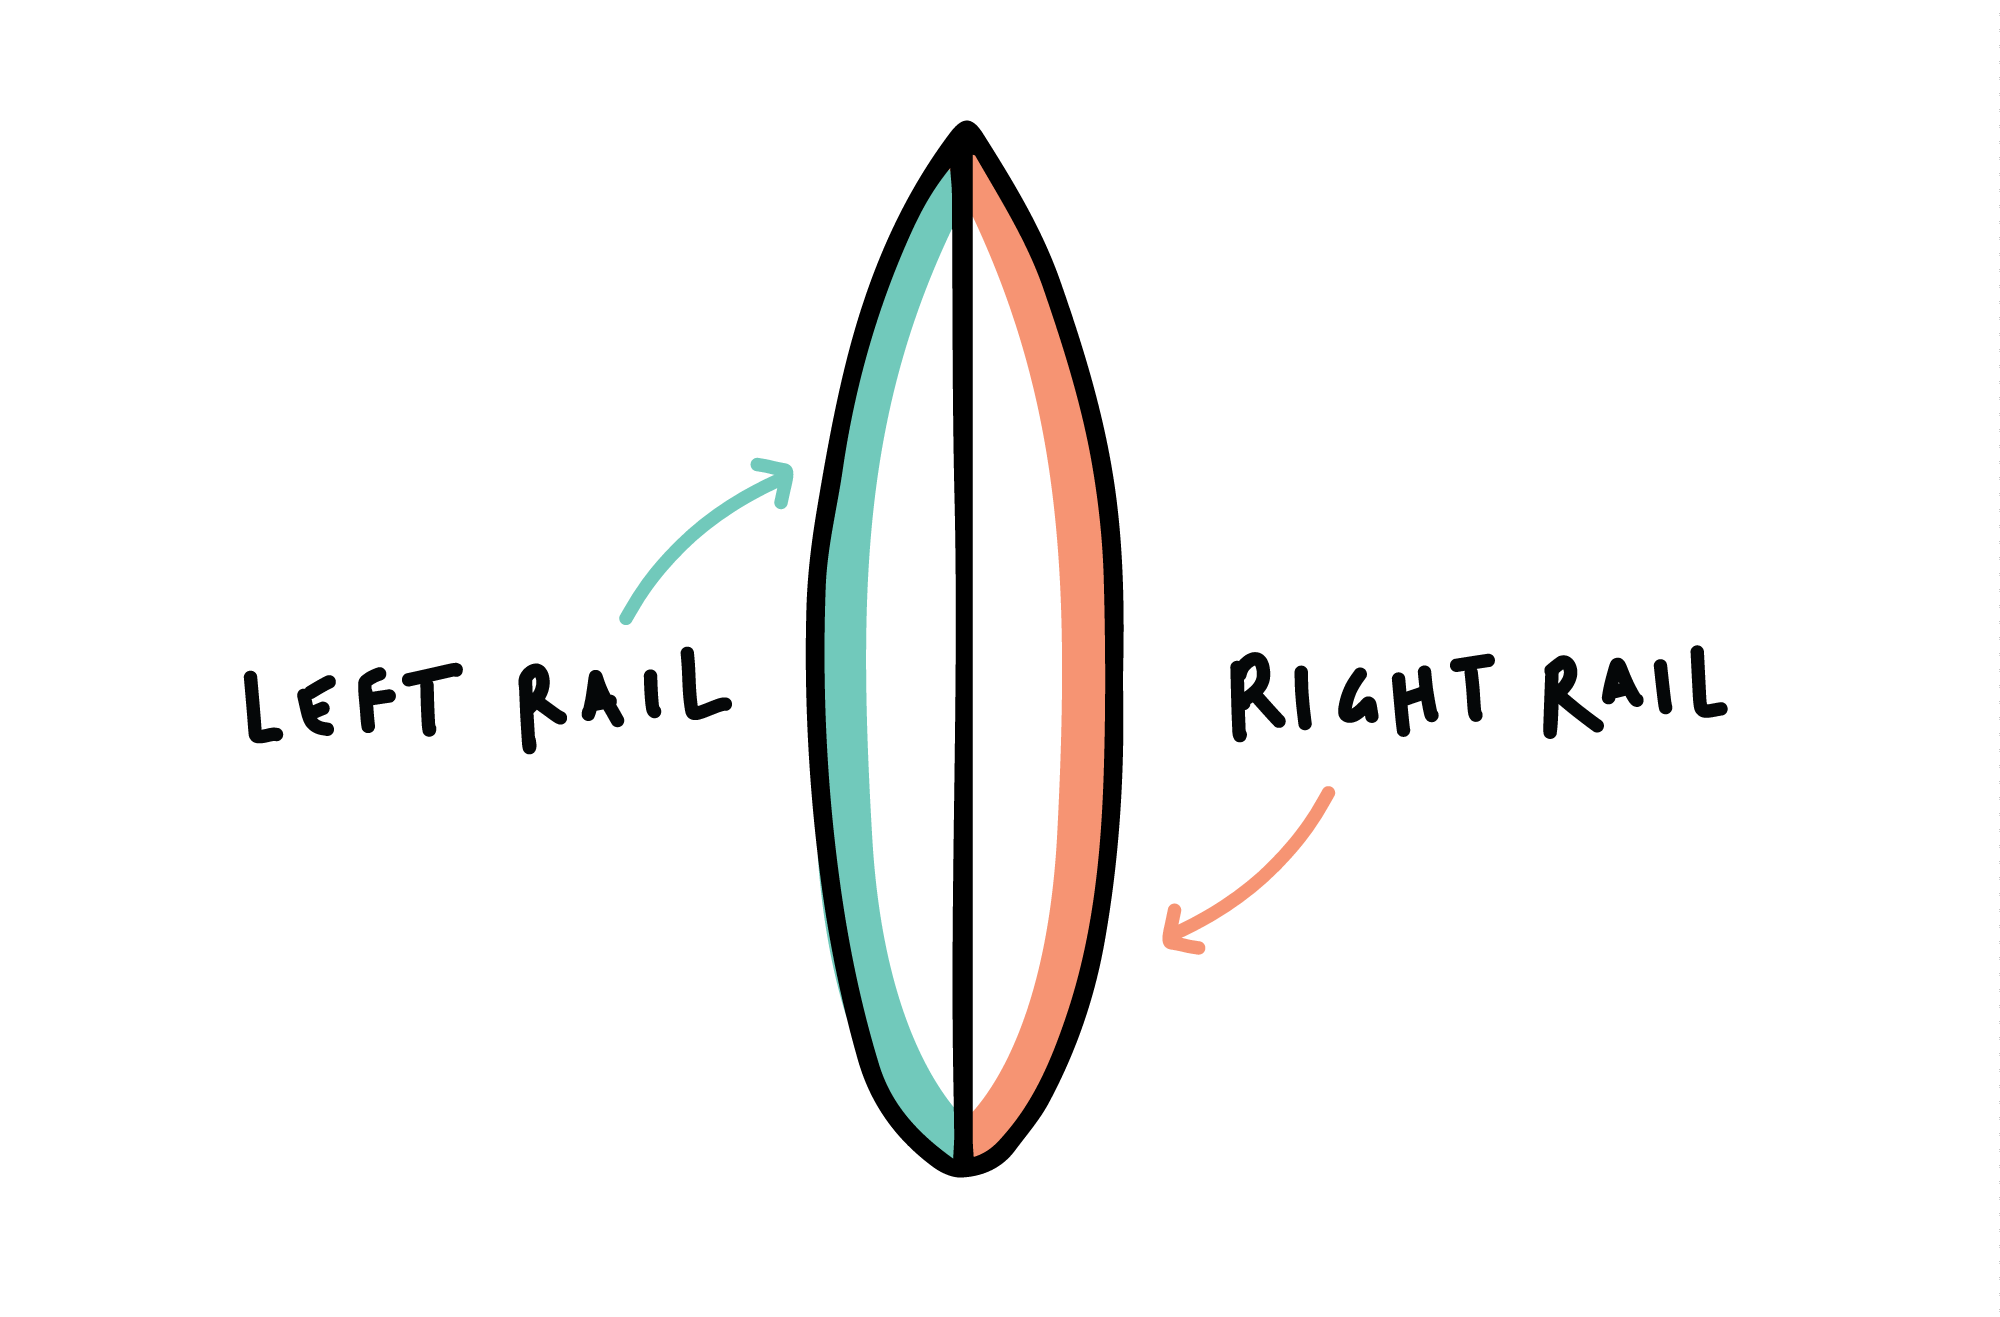
This brings us to the Third Step, which happens around 1 to 2 metres before the wave. Grabbing your rails, Push Up & Arch your Back using your arms and toes. The idea is to actually move your weight back a bit, creating enough space between your body and the board to let water pass between you and the surfboard.
Step 4


When the white water hits you, follow the Fourth Step, and ensure your board is facing straight towards the wave, totally perpendicular to it.
Step 5

Finally, the Last Step involves holding on tight to the rails of your surfboard, keeping your chest up as the water passes between you and the board. Kick one leg in the air to bring more weight to your upper body. This will consequently bring the extra weight over the front part of your surfboard, helping get over bigger, more powerful waves, and preventing getting knocked back off your surfboard.
The big advantage of this technique is that it takes very limited time to return from the push-up position to the paddling position, which helps you cover more distance faster, therefore using less energy.
If you want to go deeper into this technique, you might want to check our complete “Push Through” course online below.
Access the full Push Through Online Course.

Push Through
How to get through waves and pass the break using the “punching through” technique.
Course Content
🎥 Video Tutorial
2. Turtle Roll
For Big Waves

The “Turtle Roll”, sometimes called the “Eskimo Roll”, is a great technique to get past bigger white water waves that are too powerful for the “push through” method. This technique is a great way for you to stay in control of your board and not get pushed back too much by the white water. First and foremost, don’t forget to relax when practising this technique. Paddling out on a longboard can feel a lot harder than on a smaller board. Longboards and foamboards offer a lot of floatation, which is great for learning, but they make it almost impossible to sink your board underwater to do a “duck dive”. Remember, bigger boards= more float, meaning their buoyancy makes them more impacted by crashing waves. Follow the below steps to help complement your turtle roll technique.
Step 1

We want to start by ensuring our board is 100% perpendicular to the wave. Don’t slow down, and start to paddle with power towards the wave, creating enough energy and momentum to complete the second step.
Step 2

We then want to proceed to the Second Step. Taking a good breath before flipping under, grab the rails besides your pectorals and turn yourself and the board upside down about 6 feet (2 metres) before a white water wave gets to you.
Step 3

Once Underwater, the Third Step is to leave some space between your body and the board, ensuring the surfboard’s nose is sunk in the water. Your arms should have a slight bend in them, your head should not be close to the board, and your board should be sealed to the water, with no space between the surface of the water and your surfboard. Just relax and wait for the wave to pass over you.
Step 4

The Fourth Step requires your surfboard to be 100% perpendicular to the wave (90 degrees). Just a slight angle can affect your turtle roll: the white water will hit the side of your surfboard and throw it out of your hands.
Step 5

The Final Step is found to be the most challenging for surfers. What we have seen in the past is students struggling to recover from their turtle roll, physically not being able to lift their body back up on the board. A common question we are asked is:
Why can’t I seem to flip my body back over my board?
The answer is that there are multiple reasons this may not be working out for you. Firstly, as emphasised in the step above, your board has to be 90 degrees perpendicular to the wave. Flipping your board even on just a slight angle when the wave hits you can result in losing control of your board, meaning the transition time to get back onto the board will take longer as you have to straighten and readjust your position under the board underwater. Secondly, many students try to flip their board over flat on the water and climb back on it. This won’t work! You are going to find it exhausts all of your time, patience and energy to reposition yourself on the board before the next oncoming wave.
The aim of this final step is to flip your board and yourself back over on top of the water in one motion, as swiftly and quickly as possible. How? It actually starts by moving your hands down the rails of your surfboard whilst still underwater. We then want to flip the board on its edge first, not straight over flat on the water. This is done by sinking the rails under you, pushing on the rail towards the tail. You will do this by applying more weight and pressure to one side of the rail, sinking the board on its edge. This is the easiest way to sink the board back under you so that you are able to easily lift your body back up and over, correctly positioning yourself on the board. You can then do a frog kick to help you back up, and slide yourself into the correct position on your board.
This step sounds a lot easier said than done. This should be completed in one motion and is usually found as the hardest stage for most of our students. Bigger boards are longer, thicker, and wider, responding very differently to shorter boards. Put it this way, the more you fail, the better you get. Learn from your mistakes, whether it be timing or positioning, and keep at it. In this case, both timing and consistency are key to mastering the turtle roll. Don’t lose faith! This technique requires the right timing and positioning and is likely to take longer to learn.
Disadvantages:
It comes as no surprise that the Turtle Roll technique can be a long learning process. The Turtle roll generally feels harder for novice surfers who are not used to manipulating their boards in crashing waves. For anyone just starting out or going through the motions- we get it. It can feel physically demanding and sometimes impossible to flip back over if not done correctly. Just a small mistake can drastically affect your turtle roll. Getting caught by the wave once upside down can mean a lot of effort and precious time is wasted to come back up. The best thing we can do is simply start by trying to understand why things are going wrong and focus on fixing them. After some practice, we have high hopes you’ll get the hang of it.
To help further complement your practice, check our full “Turtle Roll” Online Course below.
Access the full Turtle Roll Online Course.

Turtle Roll
How to get passed white water waves using the Turtle Roll technique.
Course Content
3. Dive Under
For Big Waves- Last Resort

The third and final technique is The Dive Under Technique. This is emphasised as the last resort, when surfers have exhausted all options and are not equipped to either push through or turtle roll over or under an incoming wave. Most importantly, this technique should only be done when the surfer has made sure there is no one directly behind them, or in close proximity. It comes as no surprise that many surfers progressing or still in the learning phase may often feel like this is their only option when stuck in the impact zone, under a set of incoming waves. As the big wave approaches you, the First Step is to get off your surfboard and hold on to it on your side. Relax and prepare to take a big breath.
Note: We often see students in this position due to bad timing. A wave is at its most powerful when it is about to break or has just broken. If you find yourself in this position, and feel like the wave is too big or too powerful for the “Turtle Roll” technique, this is when the “Dive Under” technique comes into play.

When the white water is about a meter or two from you, take a big breath and dive deep under the water. Stay underwater long enough so that the wave has completely passed over you. Be prepared for your board to pull your leg as it gets hit by the wave. When your board resurfaces, reach out for your leg rope and pull on it until your board gets back to you. Get back onto the board quickly in your “Sweet Spot” position and start paddling back out.
Disadvantages:
There is a possibility that you may lose control over your board during this technique. The board may get taken by the wave and pull you back, making you lose some distance. That is why it is super important we check our surroundings, to ensure we are not going to hit anyone or put anyone in danger, especially in a crowded lineup. Basically, this technique isn’t time efficient. It takes more time to get your board back, jump back on it and position yourself into an efficient paddling position compared to other techniques. However, we understand that sometimes it is the only option.
How to Prevent:
Patience… Take your time, be selective and save your energy. More experienced longboarders will try to prevent using this technique by simply timing their paddle out. If they see an approaching wave that has the potential to break on or close to them, they will purposely slow down their paddling or even stop for a moment in order for the wave to break before them. The idea is to let the wave lose energy before it reaches them. That way, depending on how small it gets, they can use one of the two techniques (Push Through or Turtle Roll).
Move Not To Hit Someone:
Be aware of your surroundings! This is huge. One thing we really want to emphasise with this technique is that you should not get rid of your board unless you are certain there is no one around or behind you. On top of the push-back force from the wave, if your board is 2.5 meters and your leash is 2 meters, someone less than 5 meters from you could get hit by your board. For that reason, it is important to try to limit having to go for this technique, especially in crowded spots. The most common injuries at the beginner level have to do with hitting the surfboard. Look behind to see if anyone is there. If someone is there, you could try to paddle to your right or your left before diving underwater. This would prevent your board from being a danger to the other surfer who might not know that you are planning on letting your board go.
Key Elements For All Techniques
- Limit the transition time
Stay focused. Hands down one of the most important aspects to understand is the importance of limiting the time between doing the technique itself and getting back paddling towards the horizon. - Get into your Sweet Spot
Ensuring you’re back on the sweet spot of your surfboard before getting back into your paddling position is key. This is a habit you need to build to glide efficiently and paddle at your full potential. Take note.
Tip: To learn more about Minimizing Resistance and Maximizing Propulsion, make sure to check out our “How to Paddle” full online course.
 Tips
Tips
 Tips
Tips- Look for currents or channels
It’s important to remember that some surf spots offer a channel that makes it easier for surfers to paddle back around breaking waves. Channels are areas of the beach/spot where the water moves back out to the ocean. When possible, you want to use the channels to help paddle out more easily while saving energy. In some spots like reef breaks or point breaks, this can mean paddling on the side first to reach the channel and then aiming at the horizon as you move with the channel. That being said, every spot is different. The ocean is a constantly changing environment. You’ll never have one day that is exactly the same as the other. Conditions are ever-changing, so learning the proper techniques to pass the break with a longboard is guaranteed to help you paddle out in a reasonable amount of time, saving more than enough energy to catch waves. - Try to time yourself
Waves usually come in sets. If you have just caught a wave, there is a good chance you are in a set. It is usually a good idea to wait for the set to be over before trying to pass the break. It will be much easier to paddle out in between sets than during a set of waves. Do not follow everyone’s rhythm. Go at your own pace. The more experienced surfers around you may have more endurance than you do. They also may have smaller surfboards allowing them to go through waves more easily. - Wait halfway there for an opportunity
You don’t need to paddle out in one go. You can paddle out, and if a big set comes, wait there for a moment until you see an opportunity. Once you feel the time is right, use the energy you just saved to complete your paddle out